Marble is noble but with a Mohs hardness of only about 3 it is relatively brittle. A knocked piece of furniture, thermal movement, or poor laying can all cause chipped edges, cracks or even holes. Don't rush to replace the whole slab — many damages are repairable. This guide compares marble adhesive and epoxy DIY repair against professional restoration, helps you decide repair vs replace, and tackles the trickiest issue: colour mismatch.
The rule is simple: surface chips, small pits and short non-spreading hairline cracks can be done with marble adhesive or epoxy at home. But through-cracks, cracks that keep growing, large collapses, or damage on load-bearing or wet areas should go to a professional. After filling, the hardest part is colour match — poor tinting makes the repair more obvious than the damage.
Common damage types: chips, cracks, holes
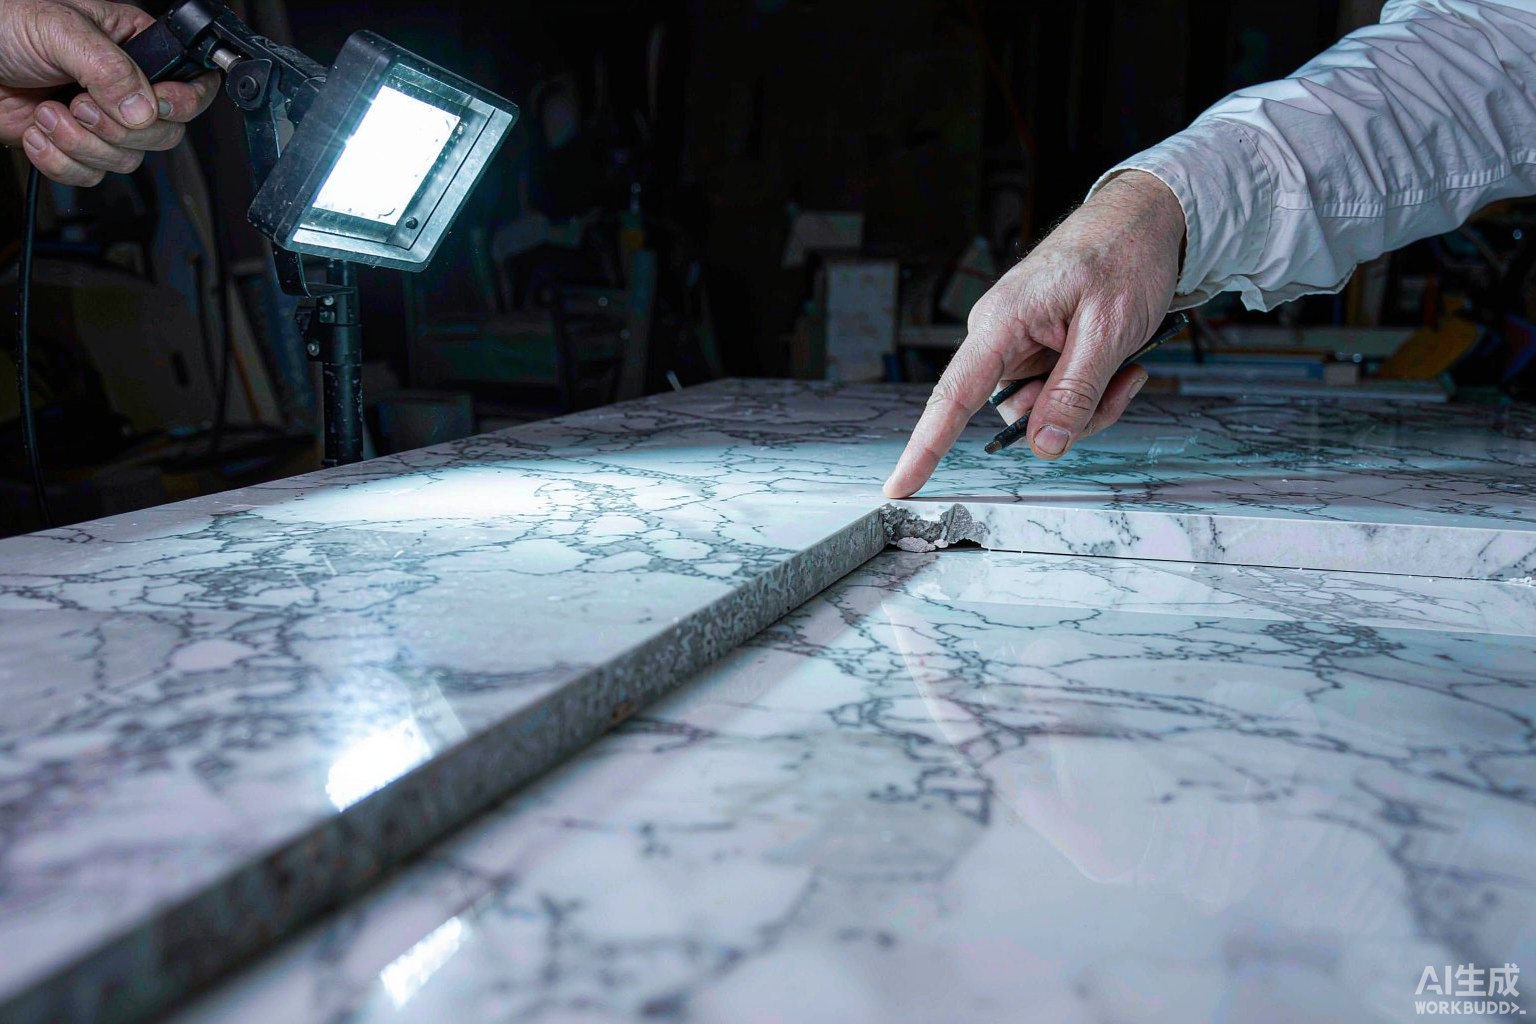
Chips usually appear on countertop and tile edges where a hard knock takes a small corner. Cracks come in two kinds: surface hairlines (very fine, shallow) and through-cracks (face to back, usually from an uneven base or tensile stress). Holes are natural stone pores or small pits from fabrication. Understand the type before choosing the method.

DIY boundaries: marble adhesive vs epoxy
Marble adhesive (AB / stone glue)
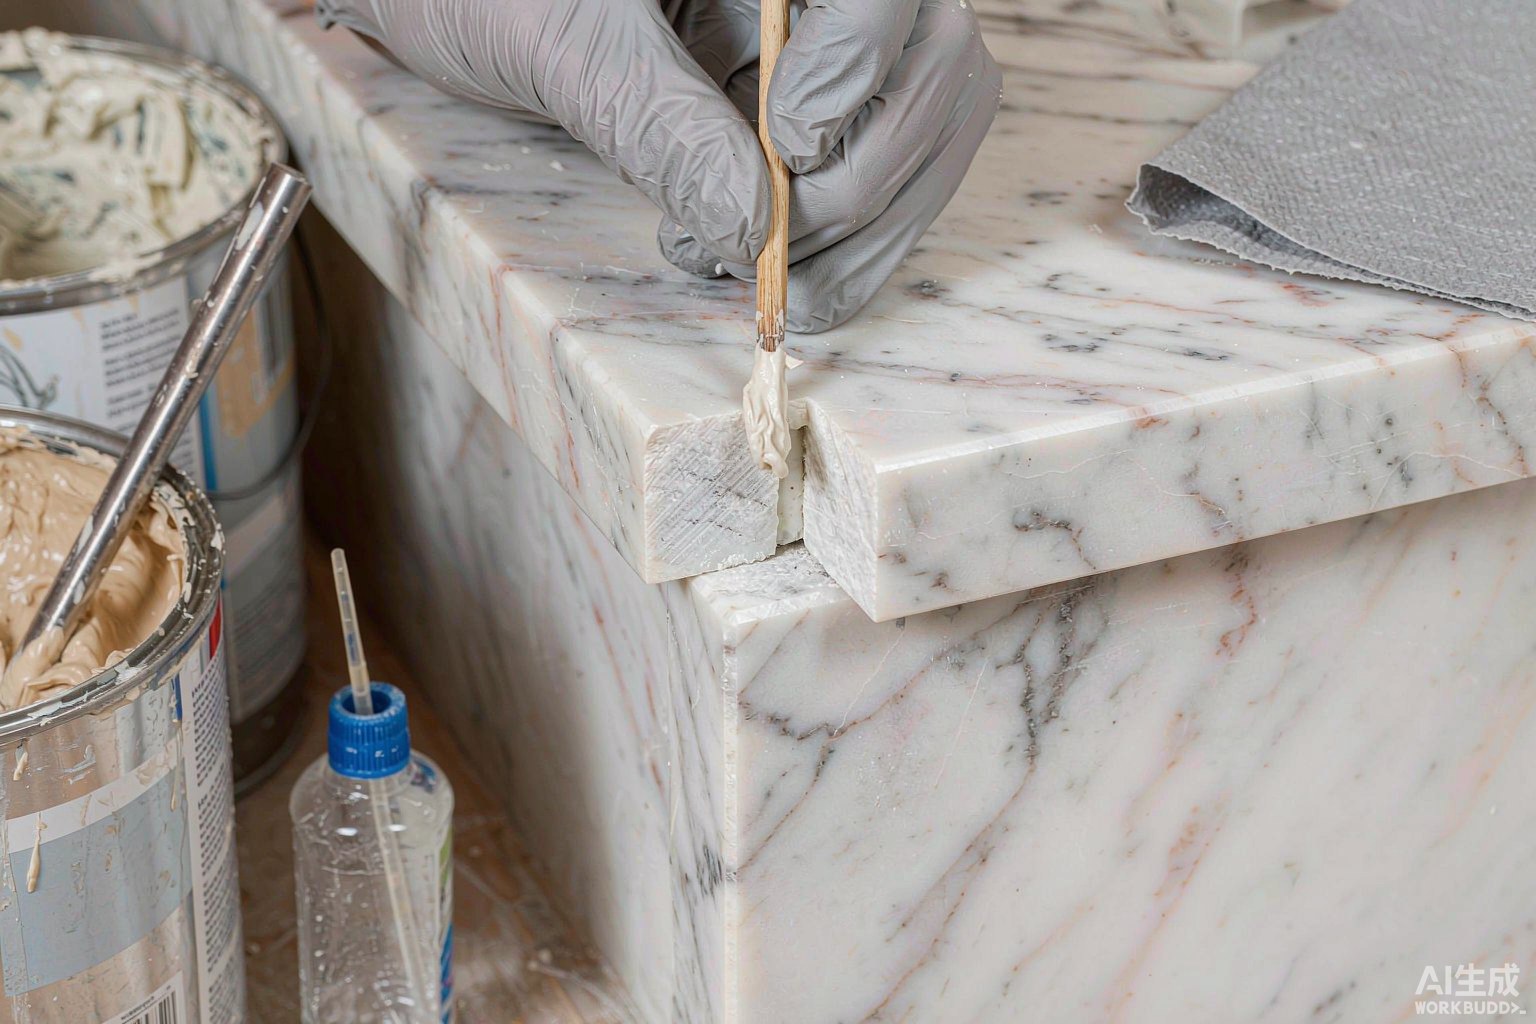
Marble adhesive is a two-part (A+B) unsaturated polyester or acrylic glue that sets fast and accepts tint powder; it is made for edge chips and jointing. Its strength is that after curing it can be ground and polished flush with the surface. The downside is higher brittleness and slight yellowing under long sun exposure, so it isn't ideal for permanently submerged areas. For home chips and pits it is the most convenient.
Epoxy resin
Epoxy bonds stronger, is tougher, and is waterproof and chemical-resistant, suiting crack injection and load-bearing repairs. The downside is short working time, hardness after cure that is hard to sand, difficult colour control, and some epoxies yellow slightly over years. So for crack injection and fixing, epoxy beats marble adhesive; for plain edge filling, marble adhesive is enough.
Safe DIY boundary
DIY is only for: small chips (smaller than a peanut shell), surface pits, and short non-spreading hairlines. The kit is marble adhesive, tint powder, a spatula, sandpaper (coarse to fine) and wax or polishing paste. Always clean and fully dry the damaged area first — never apply glue on a wet surface or it will later peel.
Repair vs replace: how to decide
This is where most people hesitate. Use the table below for a quick call:
| Situation | Recommendation | Reason |
|---|---|---|
| Small chip, small pit | DIY marble adhesive | Low cost, acceptable result |
| Short non-spreading hairline | Inject epoxy to fix | Stops it spreading |
| Through-crack, growing | Pro reinforce / replace | Structural safety |
| Large collapse, bad corner loss | Replace slab | Repair won't hold |
| Load-bearing or wet area | Pro assessment | Safety & mould red line |
Simply put: repair usually costs a fraction of replacement, but only works if the stone itself is still sound. If the slab is loose, the base is uneven, or the crack affects structure, forcing a repair only makes it worse — replace instead.
Colour mismatch after repair (the hard part)
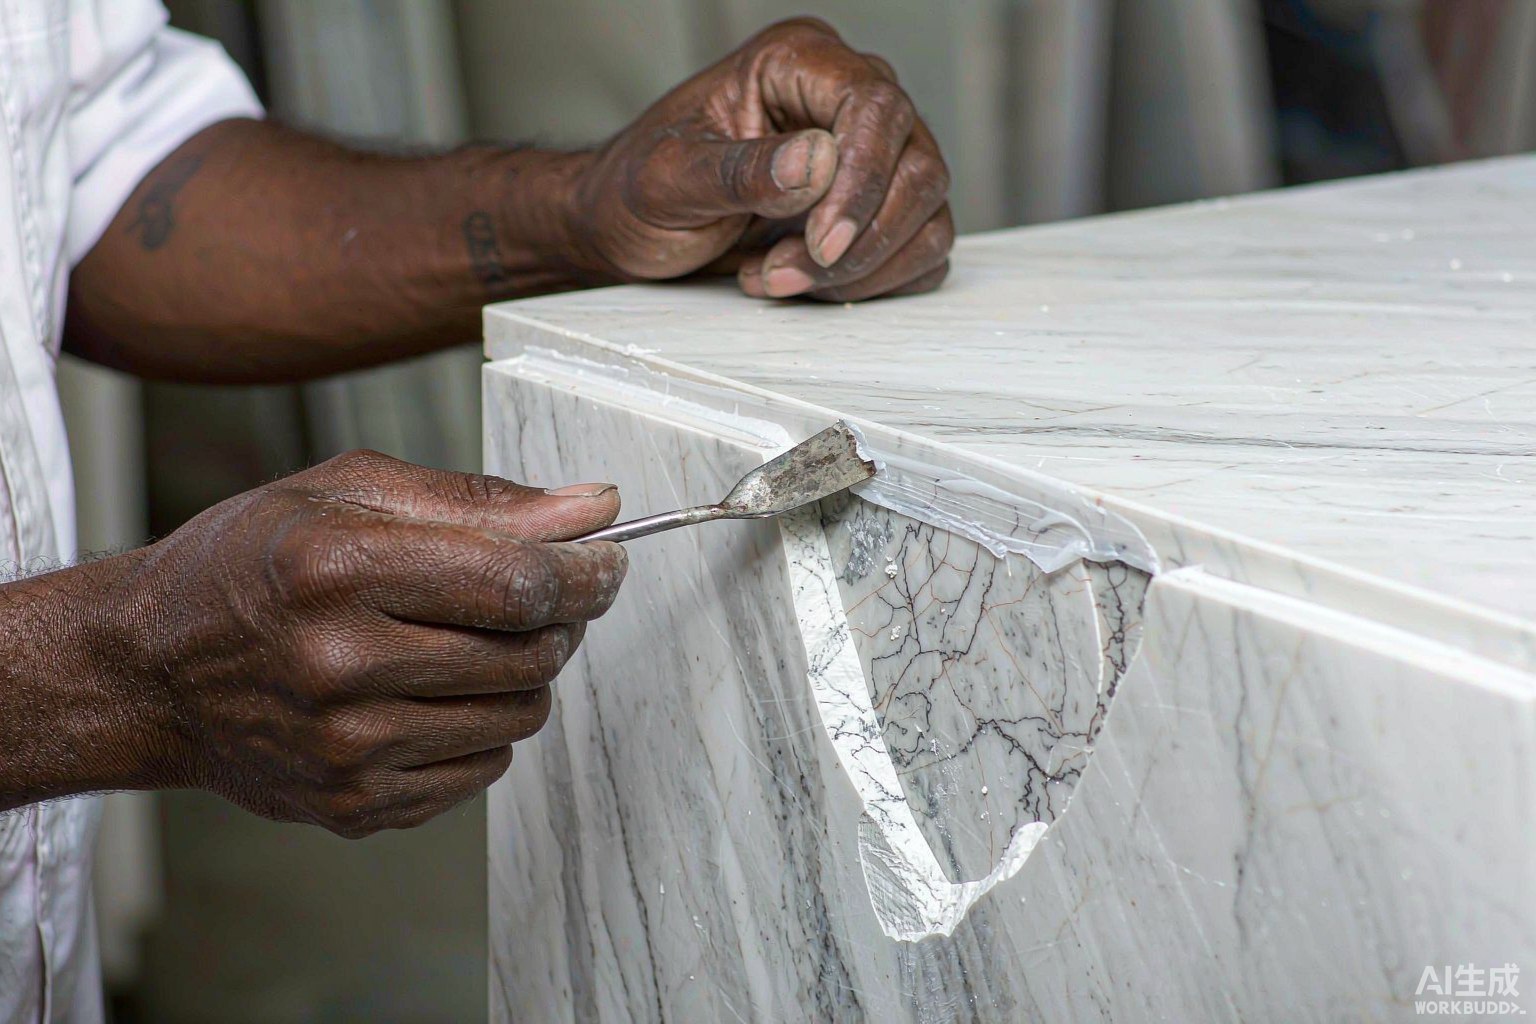
The most common DIY failure is colour mismatch: the patch is flush but the tone and veining don't line up, making it more obvious. The pro method is to add mineral tint powder into the adhesive, adjusting bit by bit toward the original stone colour, then paint a faux vein on the surface with a fine brush, and finally grind and polish so the seam disappears. For home DIY, the safest is same-colour marble adhesive powder plus a thin wax layer to hide the seam. If the mismatch is too visible, leave it to a pro for local colour repair.
When must you call a professional?
Don't DIY in these cases: first, a through-crack or one that keeps growing involves the stone and its substrate and needs opening the base, reinforcement or even slab replacement; second, chips on marble steps or thresholds that take load will re-chip if poorly filled; third, large-area damage or a near-invisible result needs experience and equipment; fourth, stone still under maintenance warranty where DIY may void it. Hengsheng, founded in 1999, has handled 4,200+ projects with 68 quality checks — this kind of restoration is safest with us. Prices indicative; final quote depends on spec and market.
Tips to prevent chipping and cracking
Prevention beats repair. Always use a chopping board on marble counters — never cut directly; use trivets for heavy or hot items and don't drag sharp corners across the surface; pad sharp edges when moving furniture. At laying, keep the base flat and leave expansion joints to avoid later tensile cracks. For high-traffic steps and thresholds, consider tougher granite (麻石/花崗岩) instead of marble — easier and more durable.
Let Hengsheng help
If you aren't sure whether a stone is worth repairing or replacing, the simplest step is to ask us to measure and assess on-site. Our masters check the nature of the crack, the substrate and the load, then give you an honest recommendation — if it's worth repairing we restore it like new, if not we say so plainly. That "no hard-sell replacement" attitude is exactly Hengsheng's duty after more than twenty years.